How to Digitize an Image for Embroidery?

Planning to give an entirely new look to your apparel? Embroidery is one of the best ways to give an attractive look to your apparel. You must know that embroidery is an art and it is mostly preferred by the people connected with the fashion industry. It is having a long history and it is still dominating. To get any design on the desired product, you need to have its image. Keeping all this in view, the next question will be, how to digitize an image for embroidery? For this, you need specialized software, skills, and adequate knowledge to get the desired results. You can say goodbye to your old designs and bring your creativity out to create something new for yourself. Furthermore, the advancement in technology is also improving embroidery digitizing with every passing day.
If you are in search of best embroidery digitizing services, then connect with Absolute Digitizing. The expert team of the company will help you to get satisfactory results. Our customers don’t have to worry about anything. We are providing a wide range of services with an affordable price tag.
Introduction
Creativity will play an important role during digitizing for embroidery to fulfill the requirements of your valuable customers. It is important to note that due to the embroidery machine, you can place the stitches on fabric using a machine. It is a fact that machines are accurate and efficient as compared to humans. They help you in saving time and during the entire process. The usage has assisted the businesses to go for mass production and enable brands to take their business to a global level. Even if you are working on a small scale, then still you need a machine to complete the task.
Wondering, how to digitize an image for embroidery? Well, whether you are planning to work on a small scale or large scale, you will need digitized files to do the work.
How to Digitize an Image for Embroidery?
You can use any picture for your embroidery task. Remember that you can get satisfactory results only if the digitizing images for the task is done by following the proper rules. Keep one thing clear in your mind that the process of digitizing is not an easy task. Note down that the person who is going to perform the task should have proper embroidery digitizing software and knowledge of fabric to execute the job. Moreover, you should be aware of the behavior of the needle according to the fabric type. Remember that you can not use the same file for the left chest and jacket back. The reason behind this is the difference in size when placing the design on different apparel.
Moving on, when you are digitizing design for machine embroidery, the selection of picture is the primary step. Depending on the skill level, you should pick one to kick start the work. However, there will be no problem for the experts but it is recommended to work on a single object for saving the time.
Process to Import the Picture
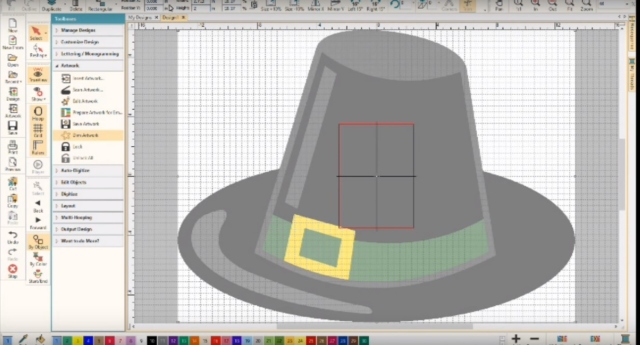
Hope now you are having knowledge on how to digitize an image for embroidery. Now, the next question will be how to import the picture for the process. For beginning the process, you need to open the image in the digitizing software according to your own preference. You can use the software like Hatch by Wilcom, Embrid, and much more. These are some of the important software used by professionals.
For instance, if you are using Wilcom software, then you should follow the below steps:
- Click on the image tab at the top menu bar
- From the drop-down menu click on Insert file
- Next, you will see a pop-up window. You need to select the path where you want to save the picture.
- Select the image and click OK to import.
By following the aforementioned step, you can easily import an image into the software. After this, you can start your work. Furthermore, if you are using the software for the first time, then you should adjust the settings. For your information, in a new version, you will get the option to drag and drop the tools.
Significant Elements to Consider
Some of the important elements that you should keep in your mind are as follows:
Stitch Types and Length Adjustment
For flawless stitching, settings are very important. If you don’t have set the stitch properties, then you should fix them right now. You need to begin the work with an outline and make them into column stitches. Remember that with embroidery digitizing software, you should be able to select the multiple options at once.
Don’t forget about underlay. The column stitches will not stand out from the underlay. Furthermore, for a large design, you should enlarge the column stitches and ensure they are not large enough to be broken. Instead of making the stitches too long, you should go with fill stitches. You should be able to manage the extra pulling of fabric with stable fills.
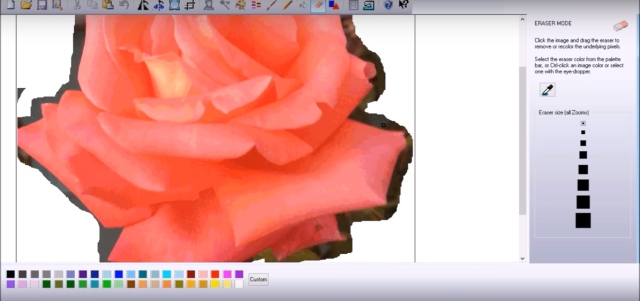
Texture Adjustment in Picture
It is essential to set the texture of digitizing images for machine embroidery. When you are working on a large design, then minute details should be visible. For maintaining the consistency, you should work on surrounding elements as well. You should remember that the upper layer is visible while the second and third layer is concealed. This offer firmness to your design and also provide an option to be creative with colors for your sew out. Note down that layering your stitches will allow you to manage the distortion and strengthens the stitches. You must follow this approach in your future working as well.
Conclusion
By now you are having all the information on how to digitize an image for embroidery. If you are still wondering to hire the best for the embroidery digitizing services, then you should contact Absolute Digitizing. The expert team of digitizers will maintain high-quality standards while working and you don’t have to complain about any mistakes. Our valuable customers will get the best results with minimum turnaround time. The price is only $1/1000 stitches.
Feel Free to Request A Free Quote!
The post How to Digitize an Image for Embroidery? appeared first on Absolute Digitizing.
from Absolute Digitizing https://ift.tt/2zeFZl7
via IFTTT


Comments
Post a Comment